This article introduces how to manually install cpio on Linux environments and web hosting servers where apt or rpm with sudo/root privileges are not available. Using a CentOS 8 Xserver as an example, we’ll explain the steps to install cpio.
When trying to execute the cpio command, you may encounter a ‘command not found’ error or a permission denied error.
$ cpio
-bash: cpio: コマンドが見つかりません

$ cpio
-bash: cpio: command not found
$ cpio
-bash: /usr/bin/cpio: 許可がありません
$ cpio
-bash: /usr/bin/cpio: Permission deniedSo, we’ll manually install cpio in the current directory or user directory without using sudo/root privileges.
You can check download sources for packages for each Linux distribution and version from the following.
Check whether your CentOS version is 7 or 8, and what the architecture is, etc. As an example, I’ll install it on Xserver, which is a web hosting server. The version, operating system, and architecture of my Xserver are as follows.
$ cat /etc/centos-release
CentOS Linux release 7.9.2009 (Core)
$ arch
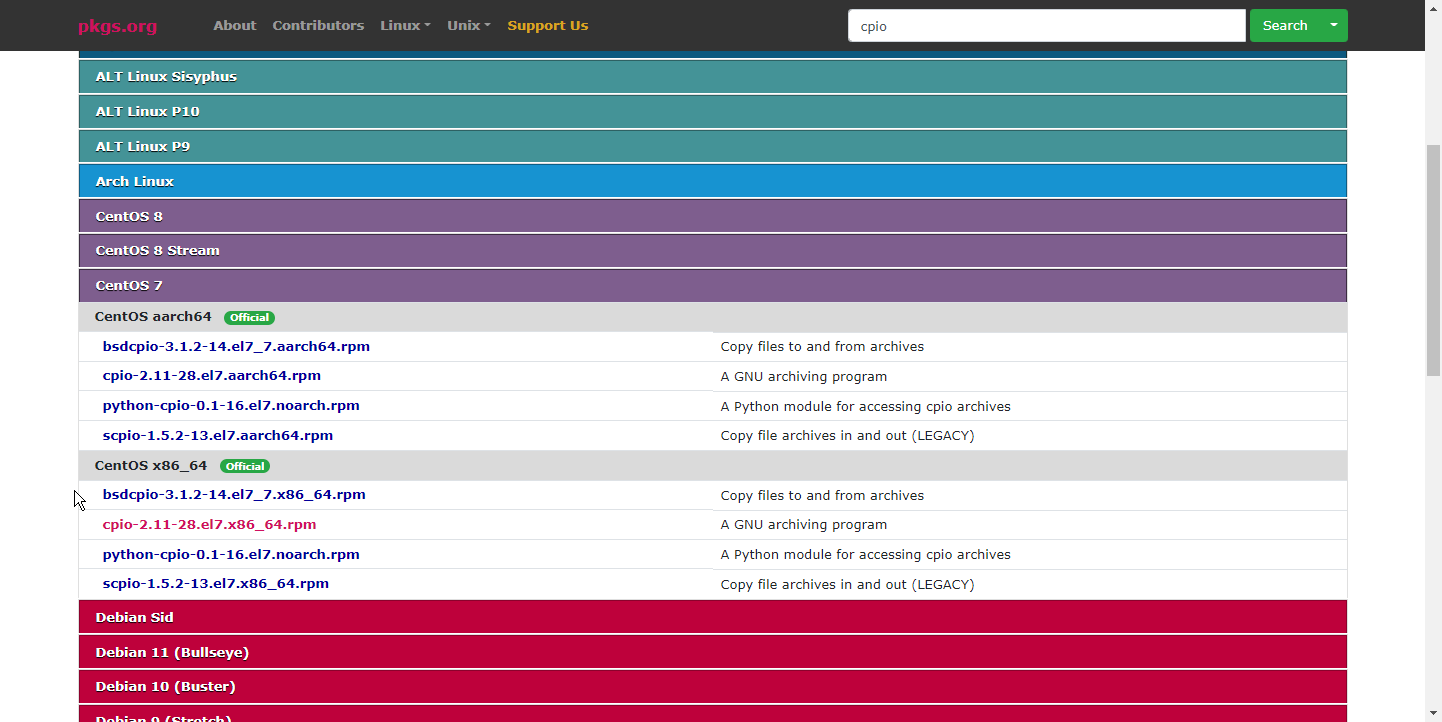
x86_64Find the rpm file download URL for CentOS 7 or 8 from the following.
cpio-2.11-28.el7.x86_64.rpm CentOS 7 Download cpio-2.12-11.el8.x86_64.rpm CentOS 8 Stream Download

Normally, when manually installing rpm packages on CentOS, you need access to cpio to install using cpio. In this case, since we’re installing cpio without cpio in a state where cpio doesn’t exist, it’s impossible to do this directly on the web hosting server. Therefore, we’ll install cpio with root privileges on another Linux machine (any machine you normally use, a VPS, or even WSL Bash), and use cpio to unpack cpio.
On a Linux machine other than the web hosting server, do the following. First, download the package.
wget http://mirror.centos.org/centos/7/os/x86_64/Packages/cpio-2.11-28.el7.x86_64.rpmUnpack the package. You should be able to confirm that a “usr” folder/directory has been created in the current directory, and the binary file ”./usr/bin/cpio” has also been created.
rpm2cpio cpio-2.11-28.el7.x86_64.rpm | cpio -idvTransfer the generated directory to the web hosting server. Use rsync, FTP, or a file uploader as you prefer (example below)
rsync -e 'ssh -p 10022' -r usr user@sv2031.xserver.jp:/home/user/pg/On the web hosting server, confirm that the directory has been updated at the destination, and confirm that cpio can be executed by specifying the cpio path.
$ /home/user/pg/usr/bin/cpio --help
Usage: cpio [OPTION...] [destination-directory]
GNU `cpio' copies files to and from archives